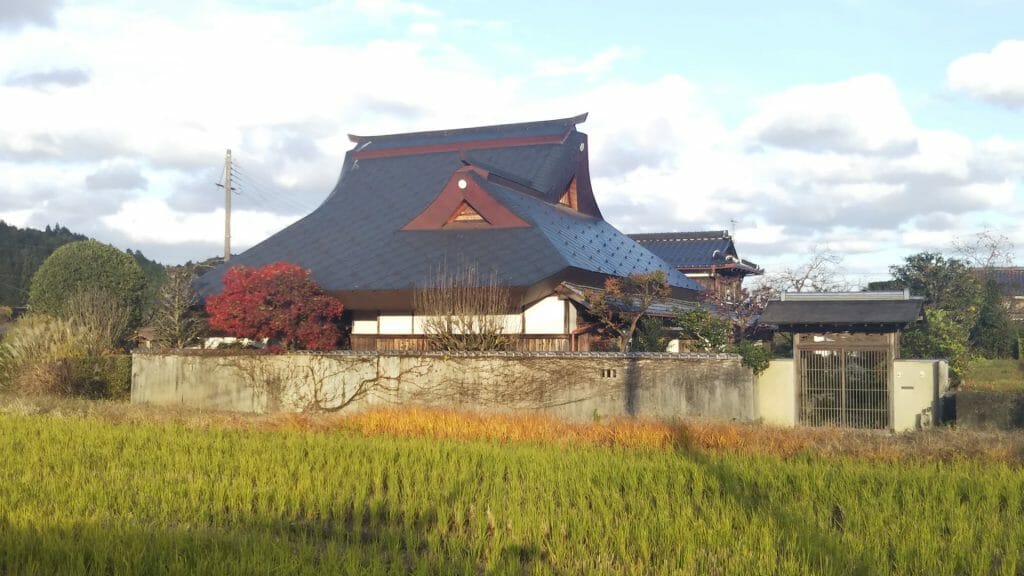
Thirty some years ago, we found this house, through it looked nothing like it does today. At the time, my wife refused to even enter it for fear of finding snakes, ghosts, or worse. It was pretty spooky and there were weeds growing up inside the house.
Definitely the outstanding feature of our house is its roof, which we had redone in copper about a dozen years ago. The above photo shows the roof years after that. I wanted to write a series on roofs in Tamba Sasayama, and what a better place to start than with the one I sleep under at night.
History
We have no official records, but our best guess is that our house is up to about 150 years old, i.e., that it was built at the very end of the Edo Period just before Japan modernized. The house was originally thatched with a thick tough grass called Kaya, which grows naturally in Japan but was and still is farmed for use in thatched roofs.
Basic Structure
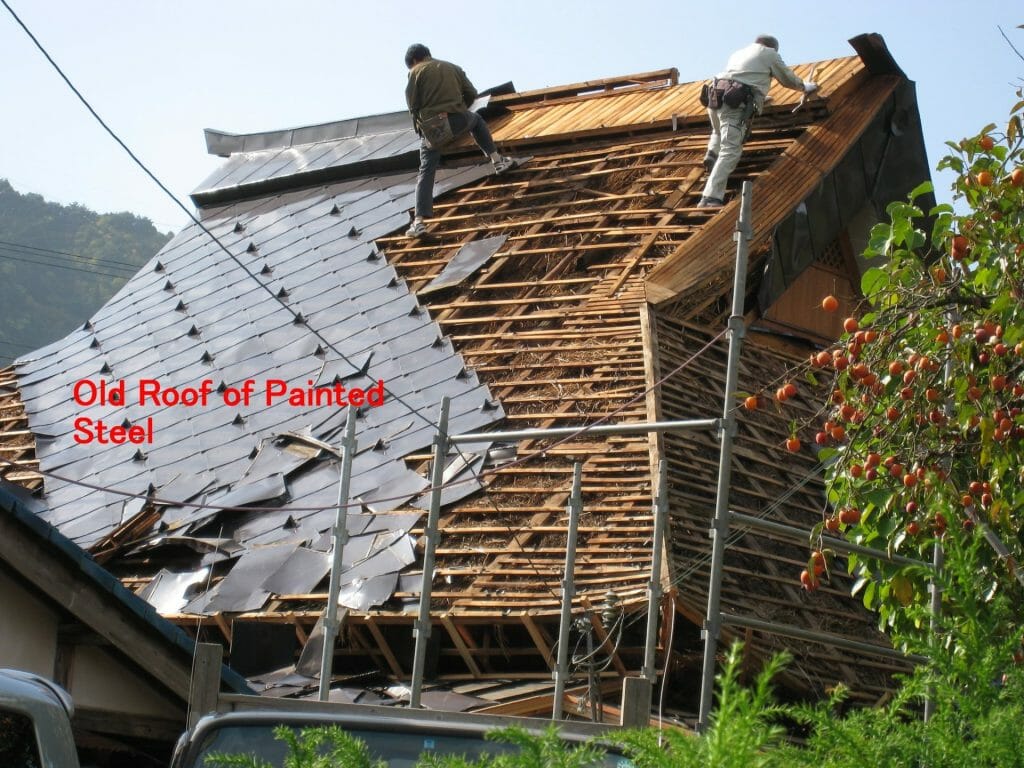
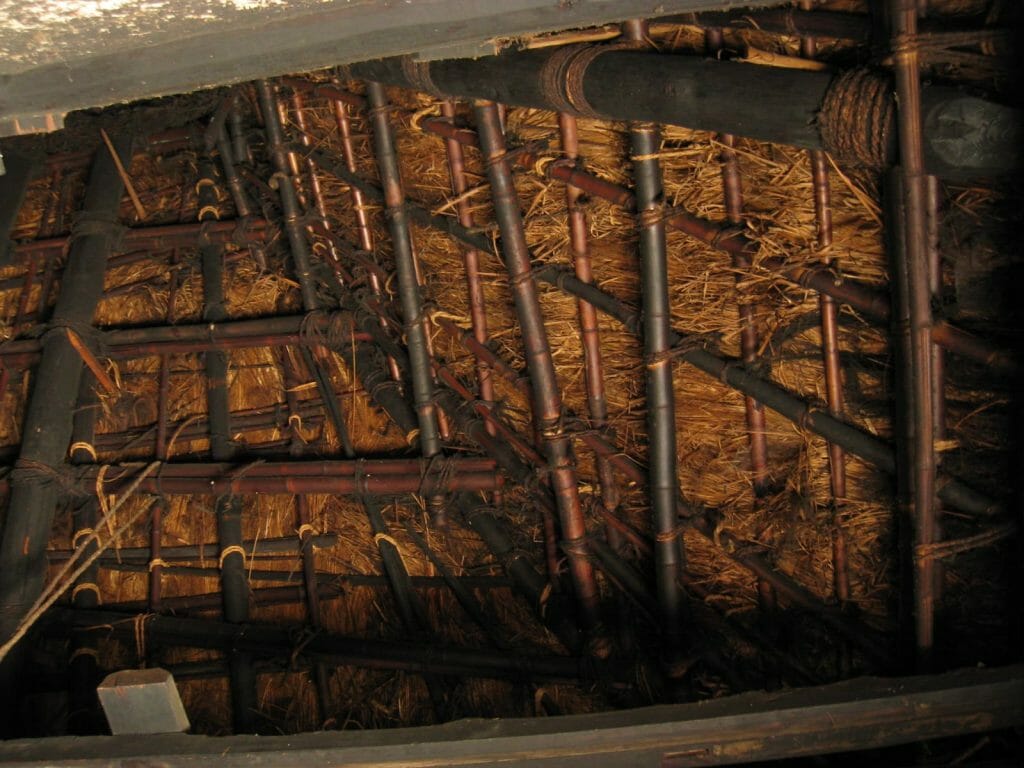
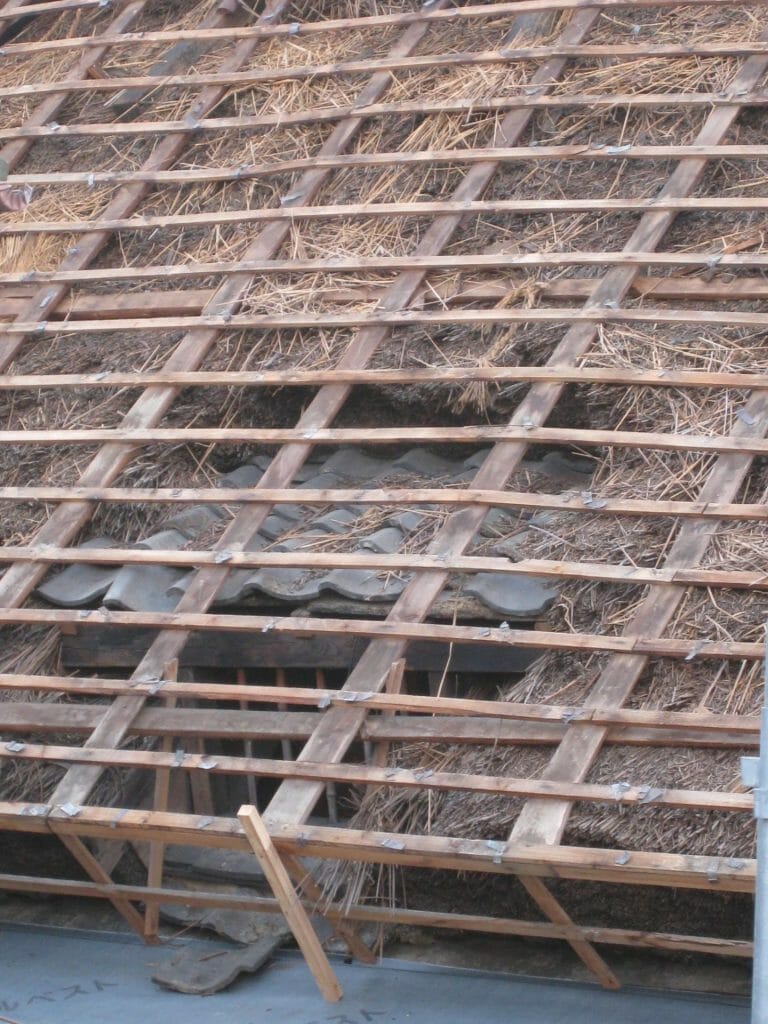
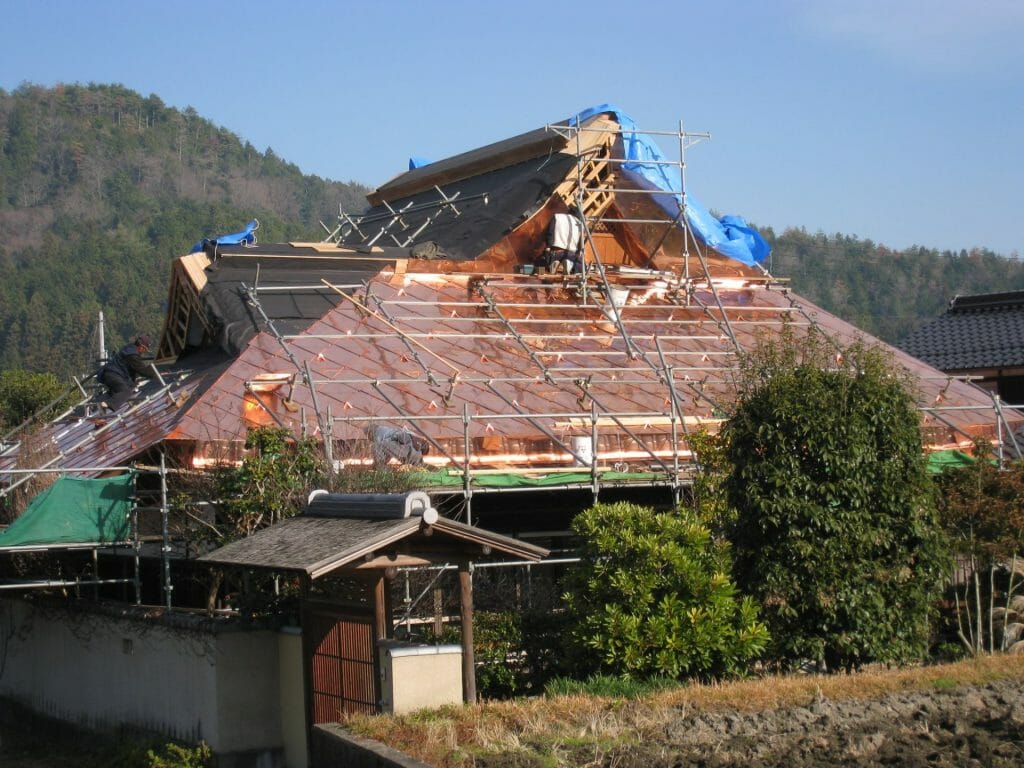
As you can see in the above photos, the first step in redoing our roof was to remove the old steel roof, exposing the framework that covers the old thatching. The steel was no end of trouble in trying to keep it painted and in good repair, so we decided to have it reroofed in copper. (Luckily the market price of copper was down enough that year to allow us to do so.)
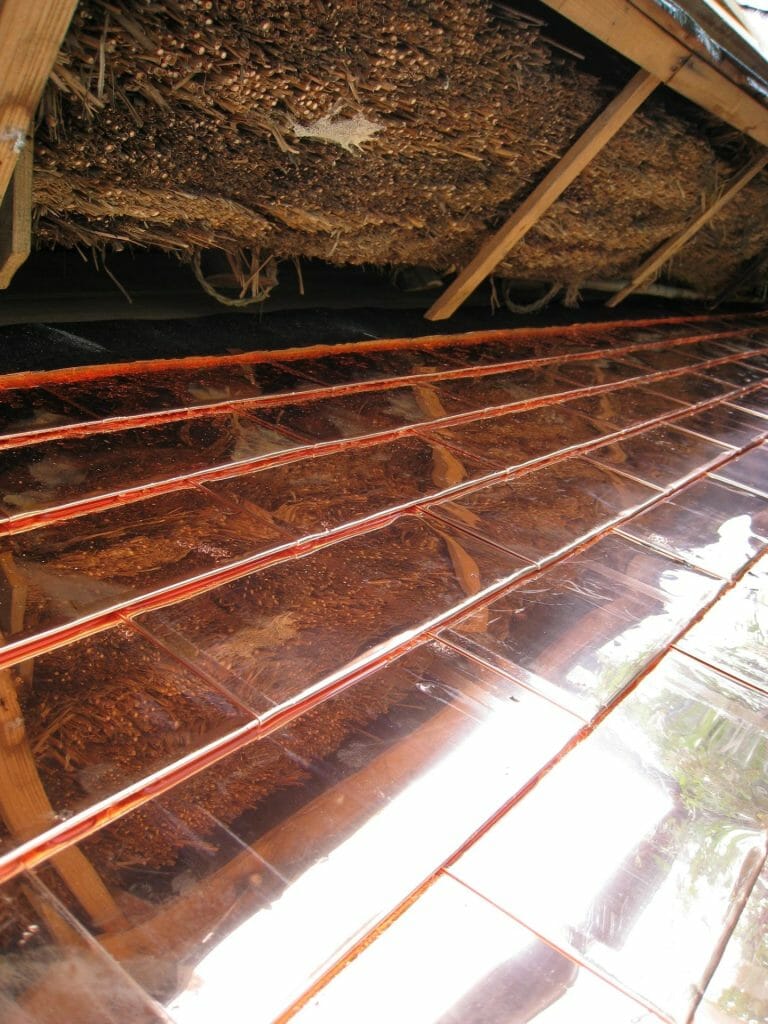
The photo of the inside of the roof shows how bamboo and timbers are used as the framework to hold the thatch from underneath, which is secured in pace with rice-straw ropes. Though it’s hard to see in the photo, you can see ropes of various ages, the older ones black with soot from the fires that once heated the house. The newer ones look new by comparison because modern stoves long ago replaced wood for heating.
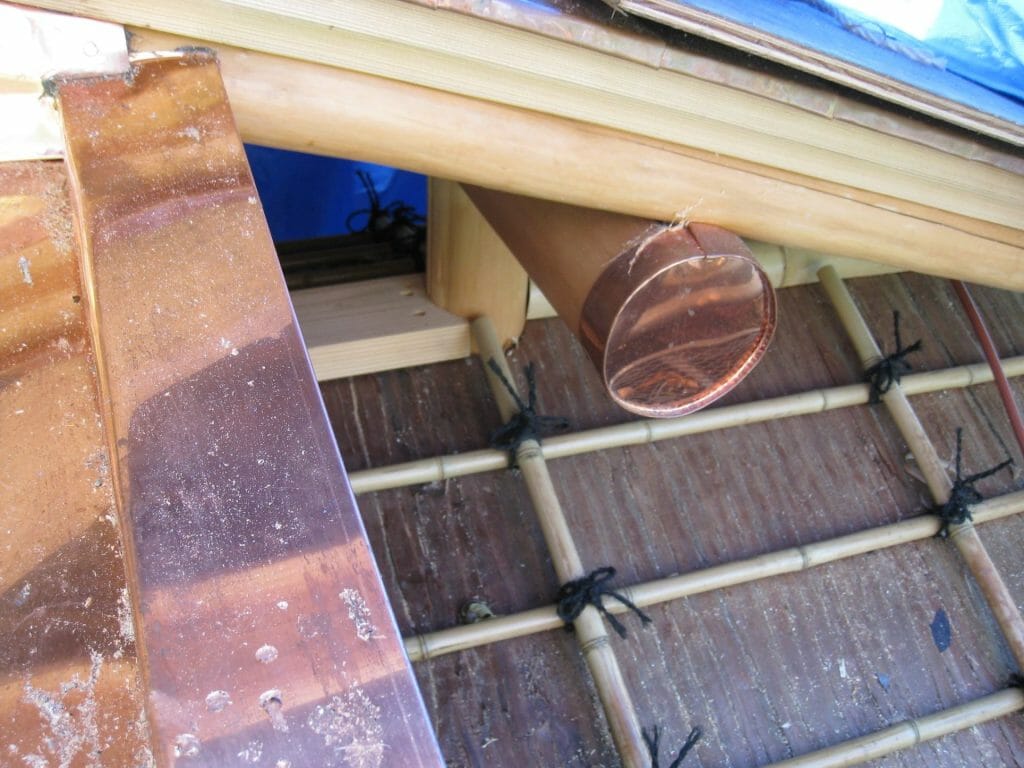
The third photo above shows the tile roof of the window that was located above the old kitchen area. I would have loved to restore this window, but it currently lies over the bathroom, which made restoration pretty much impossible.
Preparations for Roofing
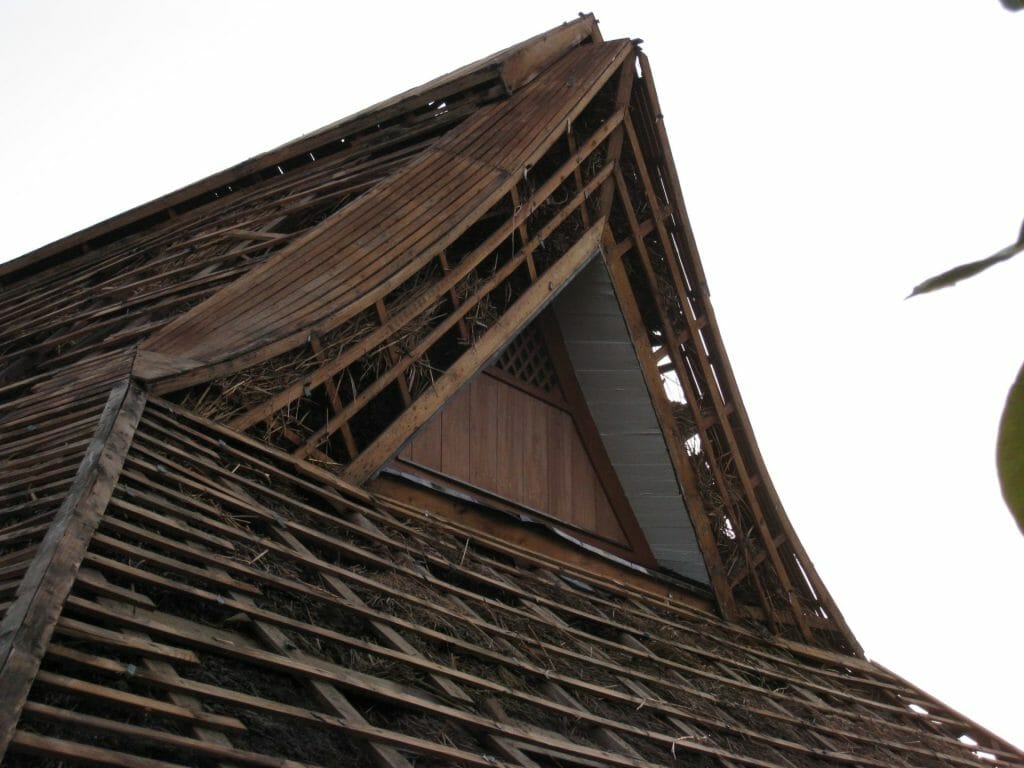
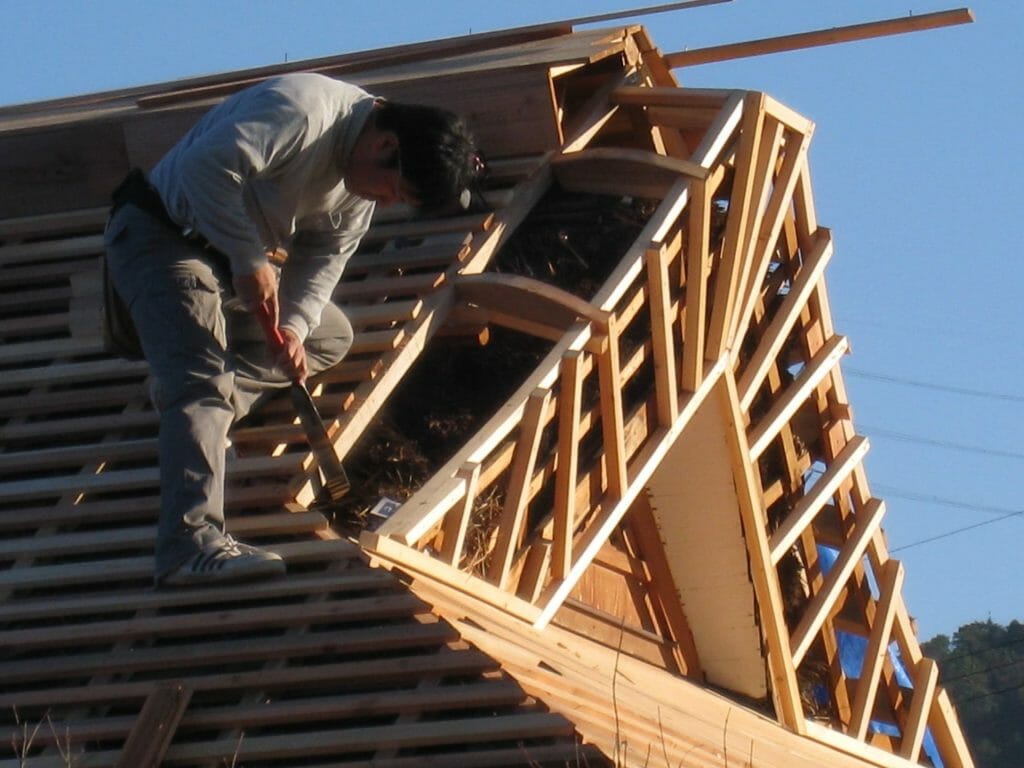
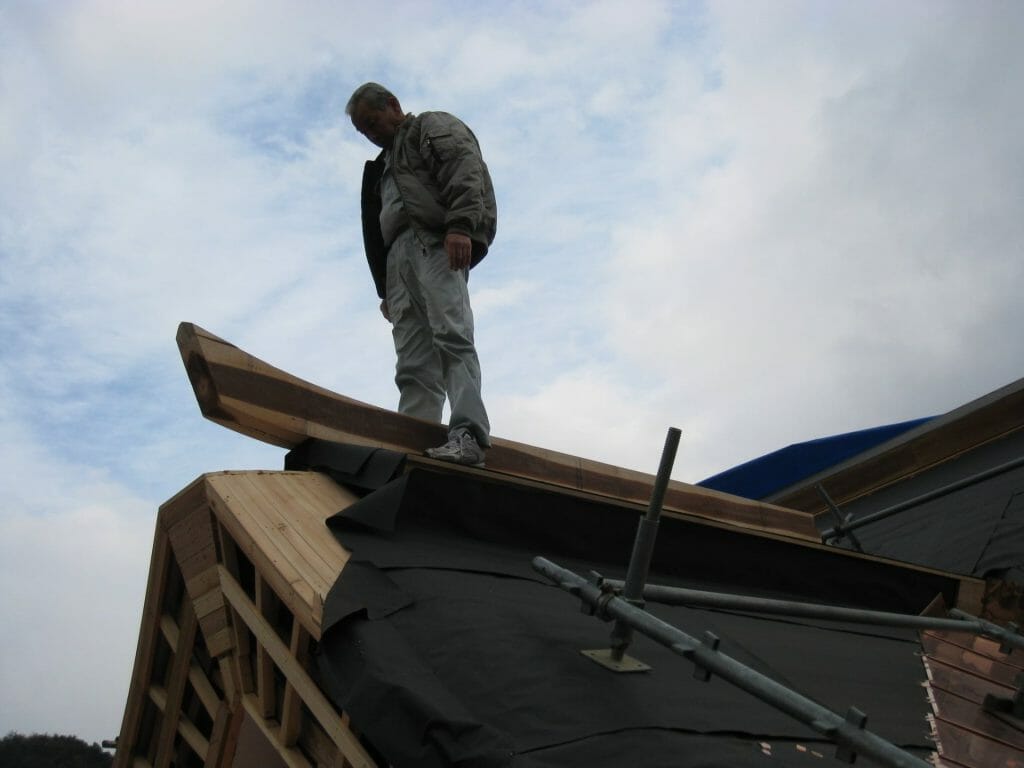
The old framework was in reasonable condition, so rather than take the time to remove it, they just built new framework over it, giving us a slightly larger roof in the process. As you can see in the first two photos above, the new framework make the roof even more impressive due to its large size but also because the company that did the work specializes in temple and shrine roofs, so they naturally ‘upgraded’ the structure.
The final step in preparing to do the roof was to add the large beams to the top, which was an amazing feat to watch. Although naturally woodwork is involved, these are roofers and are as surefooted as mountain goats. I asked them if anyone ever falls off. They laughed and said, “not any roofers, but when we get carpenters to come help us, they fall off all the time.” (I sure hope he was kidding, considering the height of our roof.)
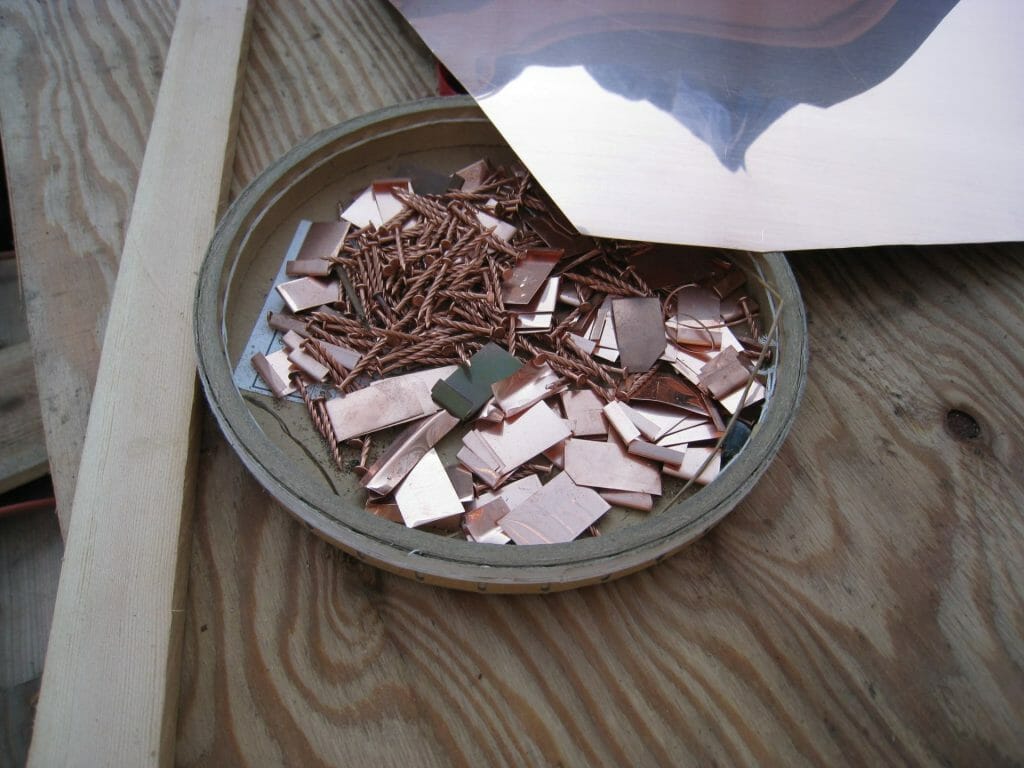
In the last photo you can see all of the little copper pieces they prepared in advance. Almost all of the pieces are prepared before they bring them onsite.
Pound, Pound, and Then Pound Some More
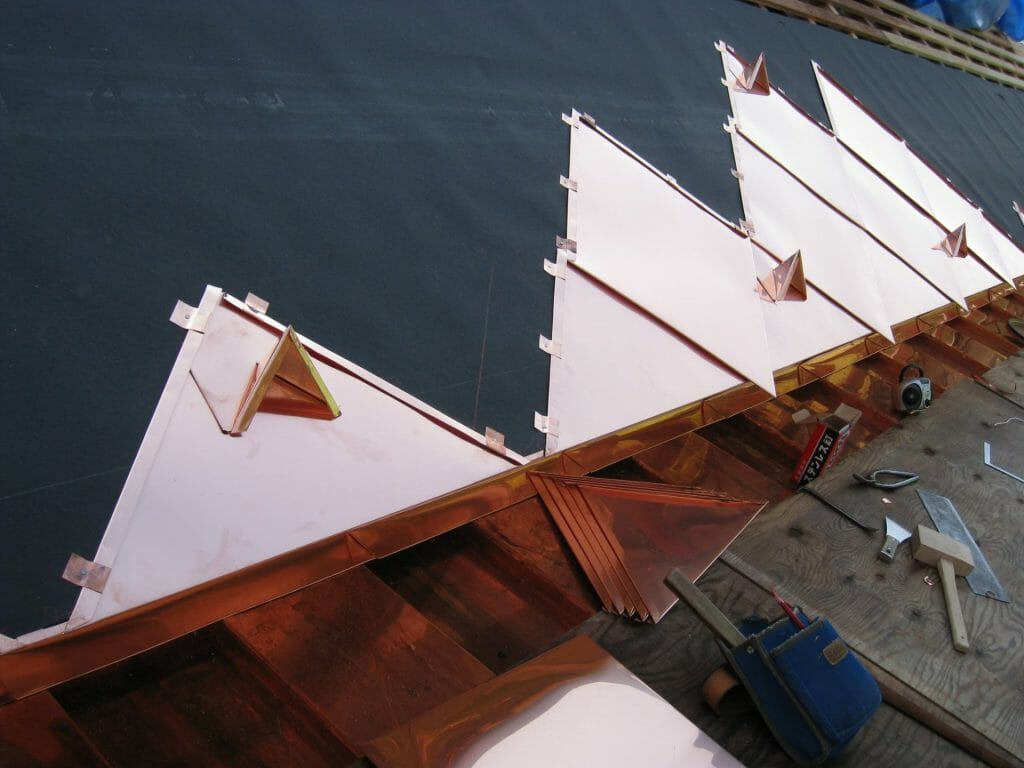
The actual roofing work is mostly just a lot of pounding. All the pieces are fit together and then pounded with wooden mallets to seal the joints. They said there was no worry of even hurricane-force winds working the individual pieces free.
If you look carefully, you will see that they used different shapes of pieces of copper on the main roof and sub roofs. Japanese arts, crafts, and architecture love variety, particularly if it’s related to the Japanese tea ceremony. The last photo above shows this well in the combination of copper, wood, and cedar bark. You cannot not see it in the photo, but the ceder bark is topped with a big piece of bamboo.
The Finished Roof
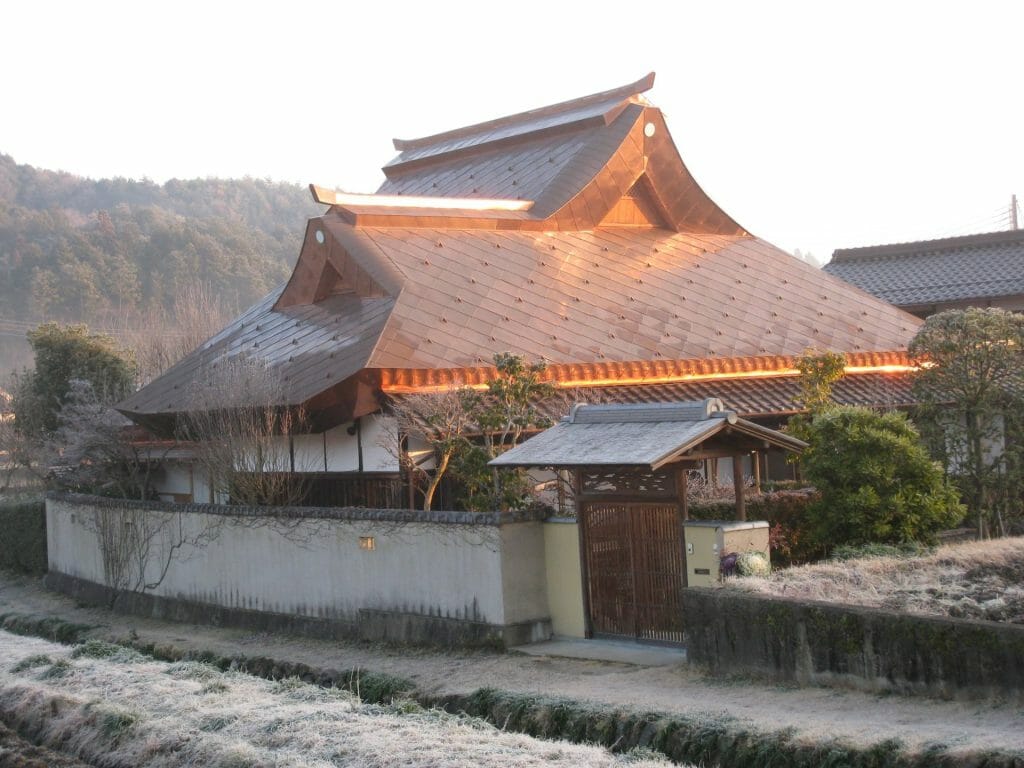
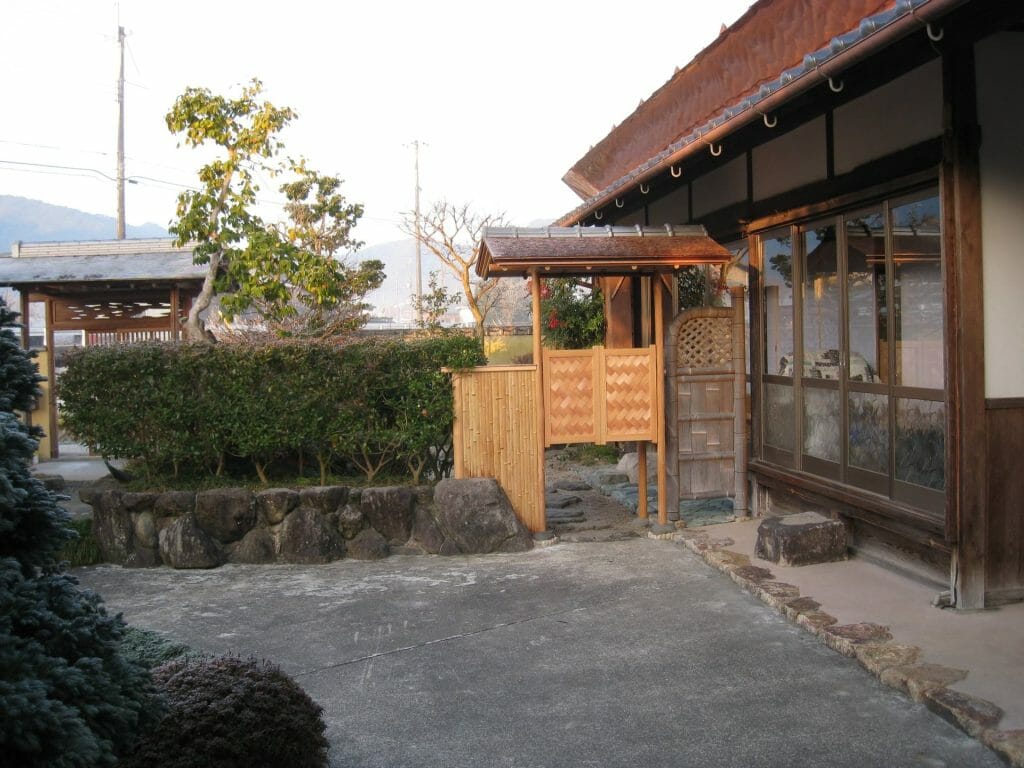
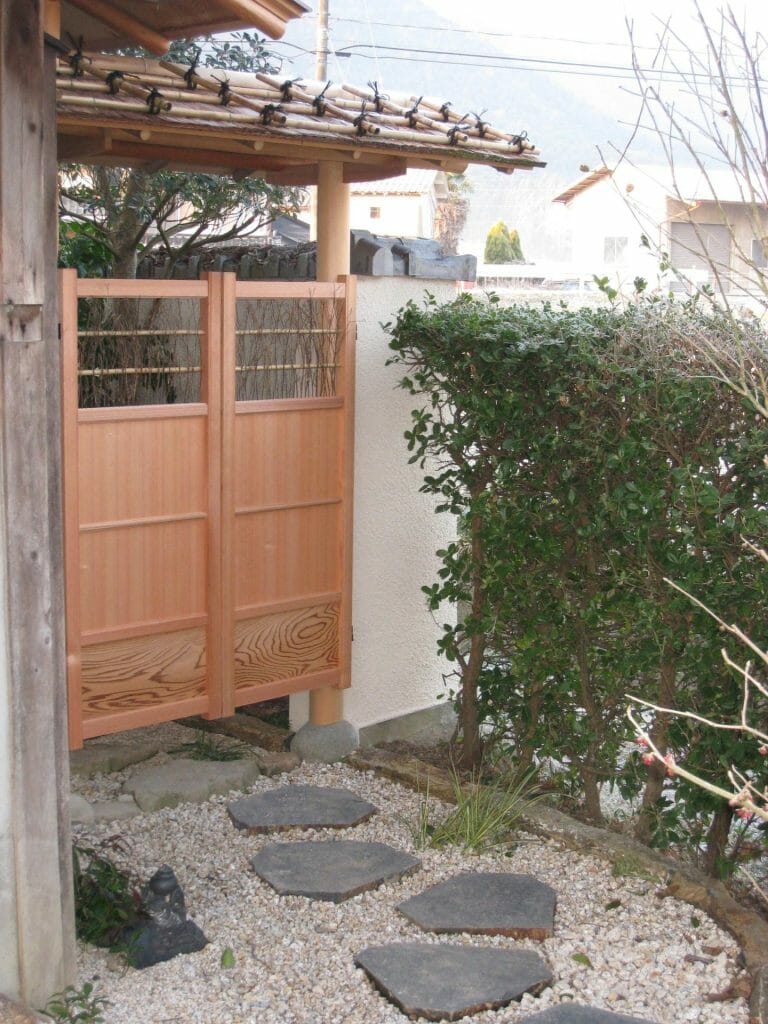
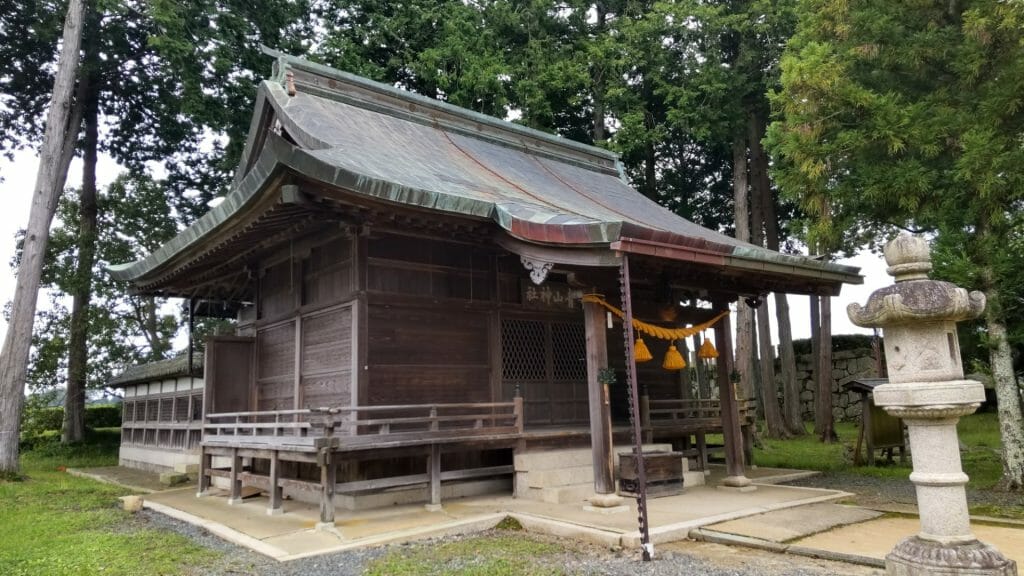
“Shiny as a new penny” perfectly describes our roof, at first anyway. One older lady that lived just down the street with a line-of-site view of our house told me a few months later how happy she was that our roof was no longer shiny. The shine was gone in a few rains and it only took about three months to start obviously changing colors. The photo at the beginning of this article is about 10 years later. The last photo just above is of a local shrine and shows how the roof will get more patina as it ages, i.e., in another 15 or 20 years. The general expected life of a copper roof is around 60 years.
The above middle two photos also show the two new roofs we had made for garden gateways in the same project. One is the cedar bark roof I mentioned above, the other is a Hinoki (cypress) bark roof. The main gateway has a cedar shingle roof. So all together, we have roofs made of cedar bark, Hinoki bark, cedar shingles, copper, bamboo, and ceramic tiles. Like they say, “Variety is the spice of life,” particularly in Japanese art.

